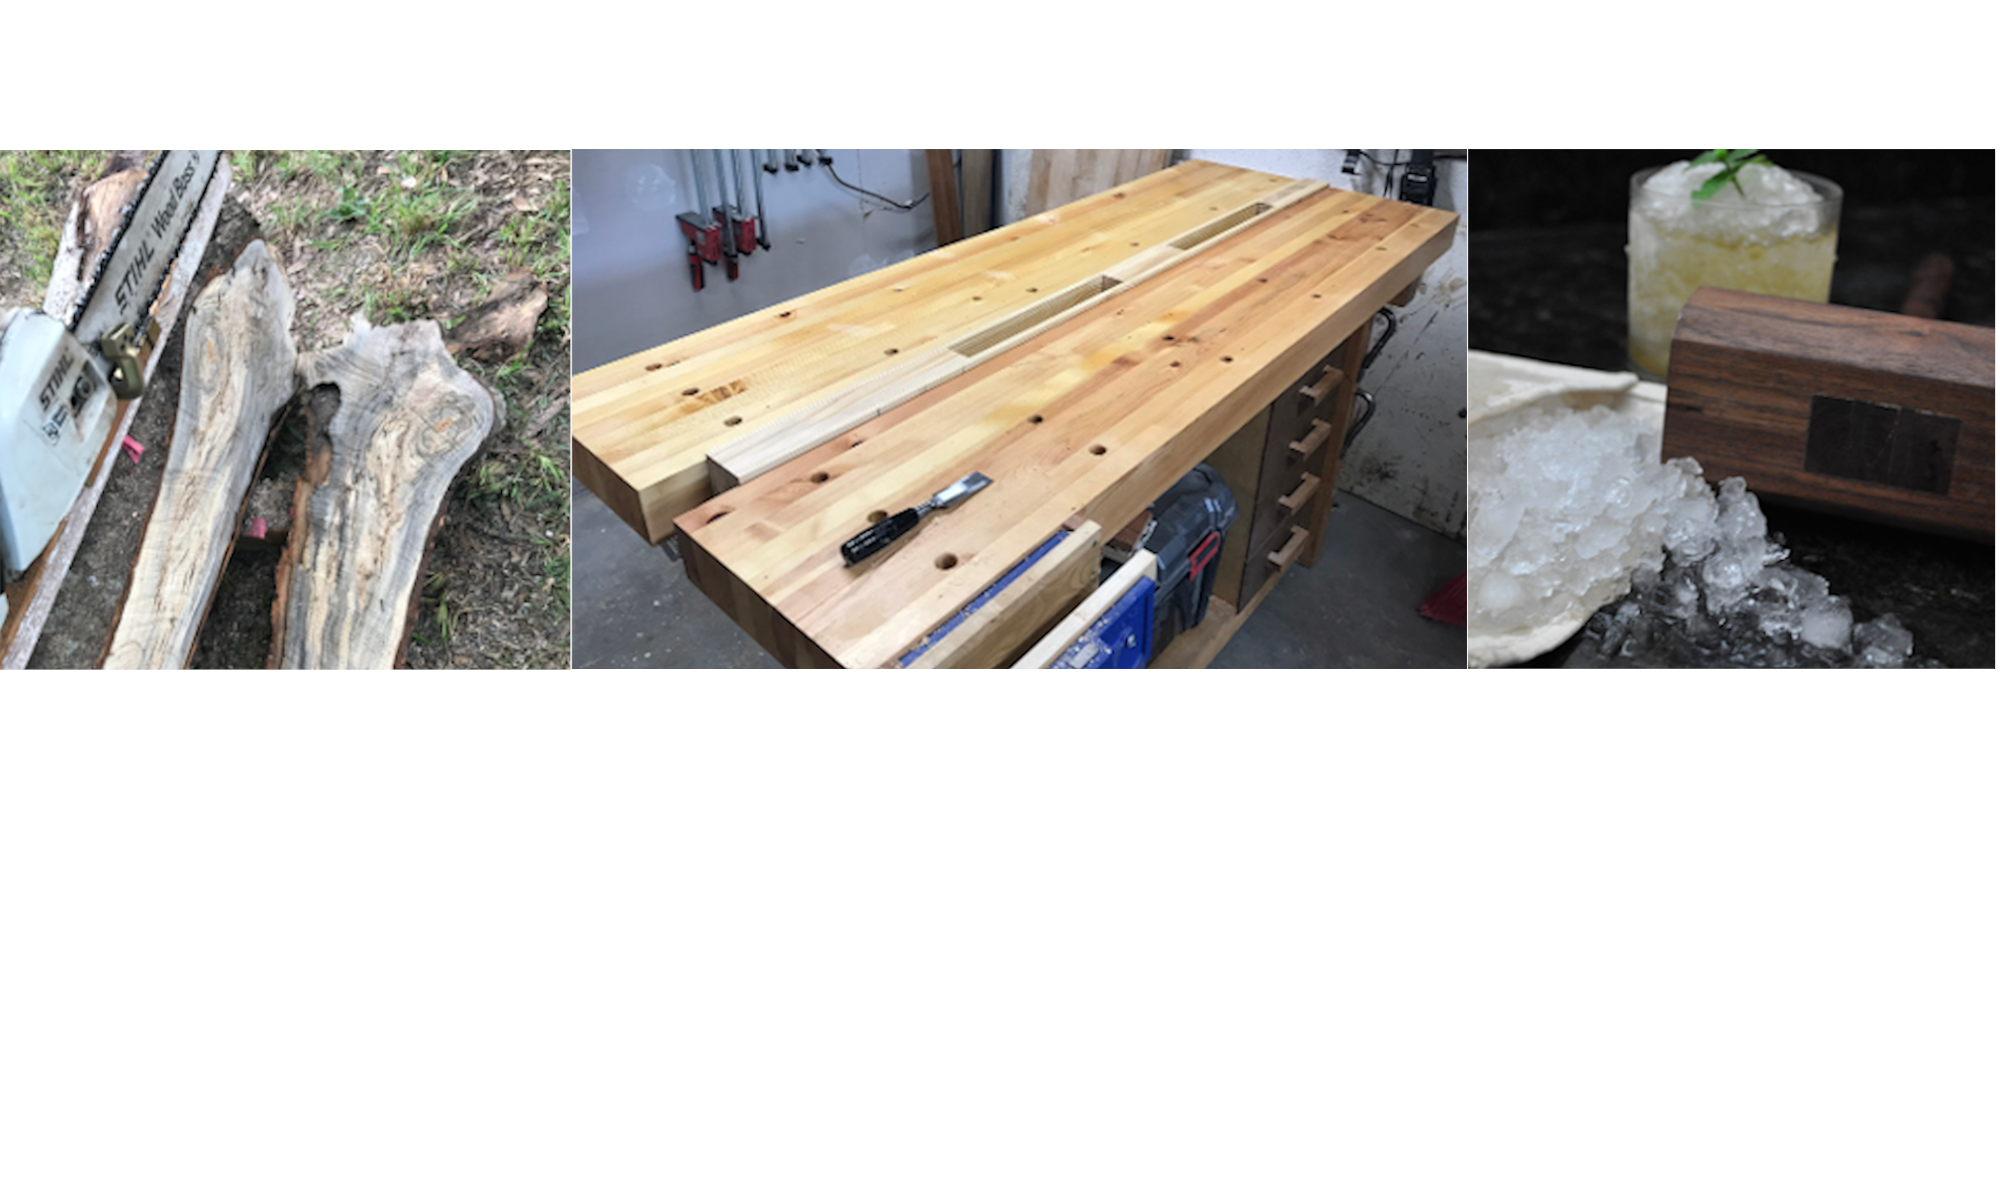
Spar gauge and spar making
According to oxford, a spar is a strong pole that is used as a mast or yard on a ship (its also the main longitudinal beam of an airplane wing). As you may have surmised a spar gauge is a tool that is used to make a spar. The singular purpose of the gauge is to generate layout lines to create an 8 sided object from one with 4 sides. The relationship between the shoulders of the gauge and the pins (or whatever makes a mark) is 7-10-7. The beauty of this gauge is that, as long it fits over the piece it can be used for any sized material. The process to make a cylindrical object is as follows. First you use the gauge to make lines on the stock obeying the 7-10-7 ratio. Those become your guidelines to remove the corners thus changing the cross section from a square to an equal sided octagon. Once all sides are equal more lines are drawn to go from 8 to 16 sides (hexadecagon -looked this up for fun) then 16 to 32 (triacontakaidigon – even more fun). Once you have 32 sides you are pretty close to a circle. With this method I made a cartoon sized rolling pin.


Schedule
Since the largest of our beginning woodworking projects is in the works (it’s a shoulder tool box) as I write this I thought I would talk a bit about the how the schedule is structured at the boat school. The wooden boat building program is a year and is divided up into quarters. This first quarter is focused on woodworking skills, which have been documented here, I would say it’s a “crash course” in fine woodworking. In addition, we will be taught and then practice drafting and lofting. These exercises develop the lines of a boat, drafting is at scale and lofting is full size (example drafting below). The final piece of the curriculum in the first quarter is building a small boat. For shop activities, the students are divided into groups of 9 or 10 students per instructor (lectures are structured differently). I believe that our group will be making an Atkins designed flat bottomed skiff. Some of the skiffs, of the same design, built by previous classes, are still at the school (video below). After the first quarter the shop work will be focused on finishing the boats I have shown in previous “walk-arounds” and starting to build new boats for future classes to finish.


But, does your team have a name?
hmmm not yet. Ill bring it up at the next meeting 🙂
So, a triacontakaidigon… feels like you’re just making stuff up now, but I’m loving it anyway.
Really interesting how you can make a pretty spot-on cylindrical piece with the spar gauge and a draw-knife. Good content – wish I had questions, but you explained it all pretty well!
Honestly i looked up the 32 sided object on wikipedia so it has to be true.
Also looking back the draw knife picture is a little mis-leading. I used that for bulk removal and the no.4 (or is it a 3 i forget) for most of the work.
I was lost until “cartoon sized rolling pin”. I’m in. 😀
Also love the pictures they really help my accountant brain understand all the cool things you are learning.
I am glad the rolling pin pulled you in!
I used a spar gauge when making a replacement boom for my boat. But then I just planed the octagon to round.
How do you mark the hexagon and 32 side lines, or is that just freehand?
Brian,
The method we learned has you doing some layout on the end of the spar, then drawing lines down the length. For a mast i am not sure how you would connect the layout from one end to the other, my guess is a batten. I am going to ask and I’ll give some more detail about the layout process in my next post.
Thanks for your question.
Gene