Carving the Rabbet
I made a stem for a boat! Well its an imaginary boat and my stem is pretty rough. The stem is the forward most part of the backbone, it is a crucial part of the bow. The purpose of this exercise was to practice carving the rabbet that goes in the stem (and the rest of the backbone). The rabbet is a groove that follows the profile of the backbone and accepts the planking, it helps protect the planking and provides a sound method of attachment. We laid out our stem from a mylar pattern with pins and battens (splines that allow you to draw a fair curve). If this were for a real boat the pattern would have been developed with the lofting process, more on that later. From this we could develop the rest of the necessary lines to carve the rabbet. The challenge with this activity is that the shape follows that of the boat (it’s curved!) and would be difficult to do with power tools that work better with straight lines and definitive angles (perhaps if you had a model of the shape you could carve with a CNC).


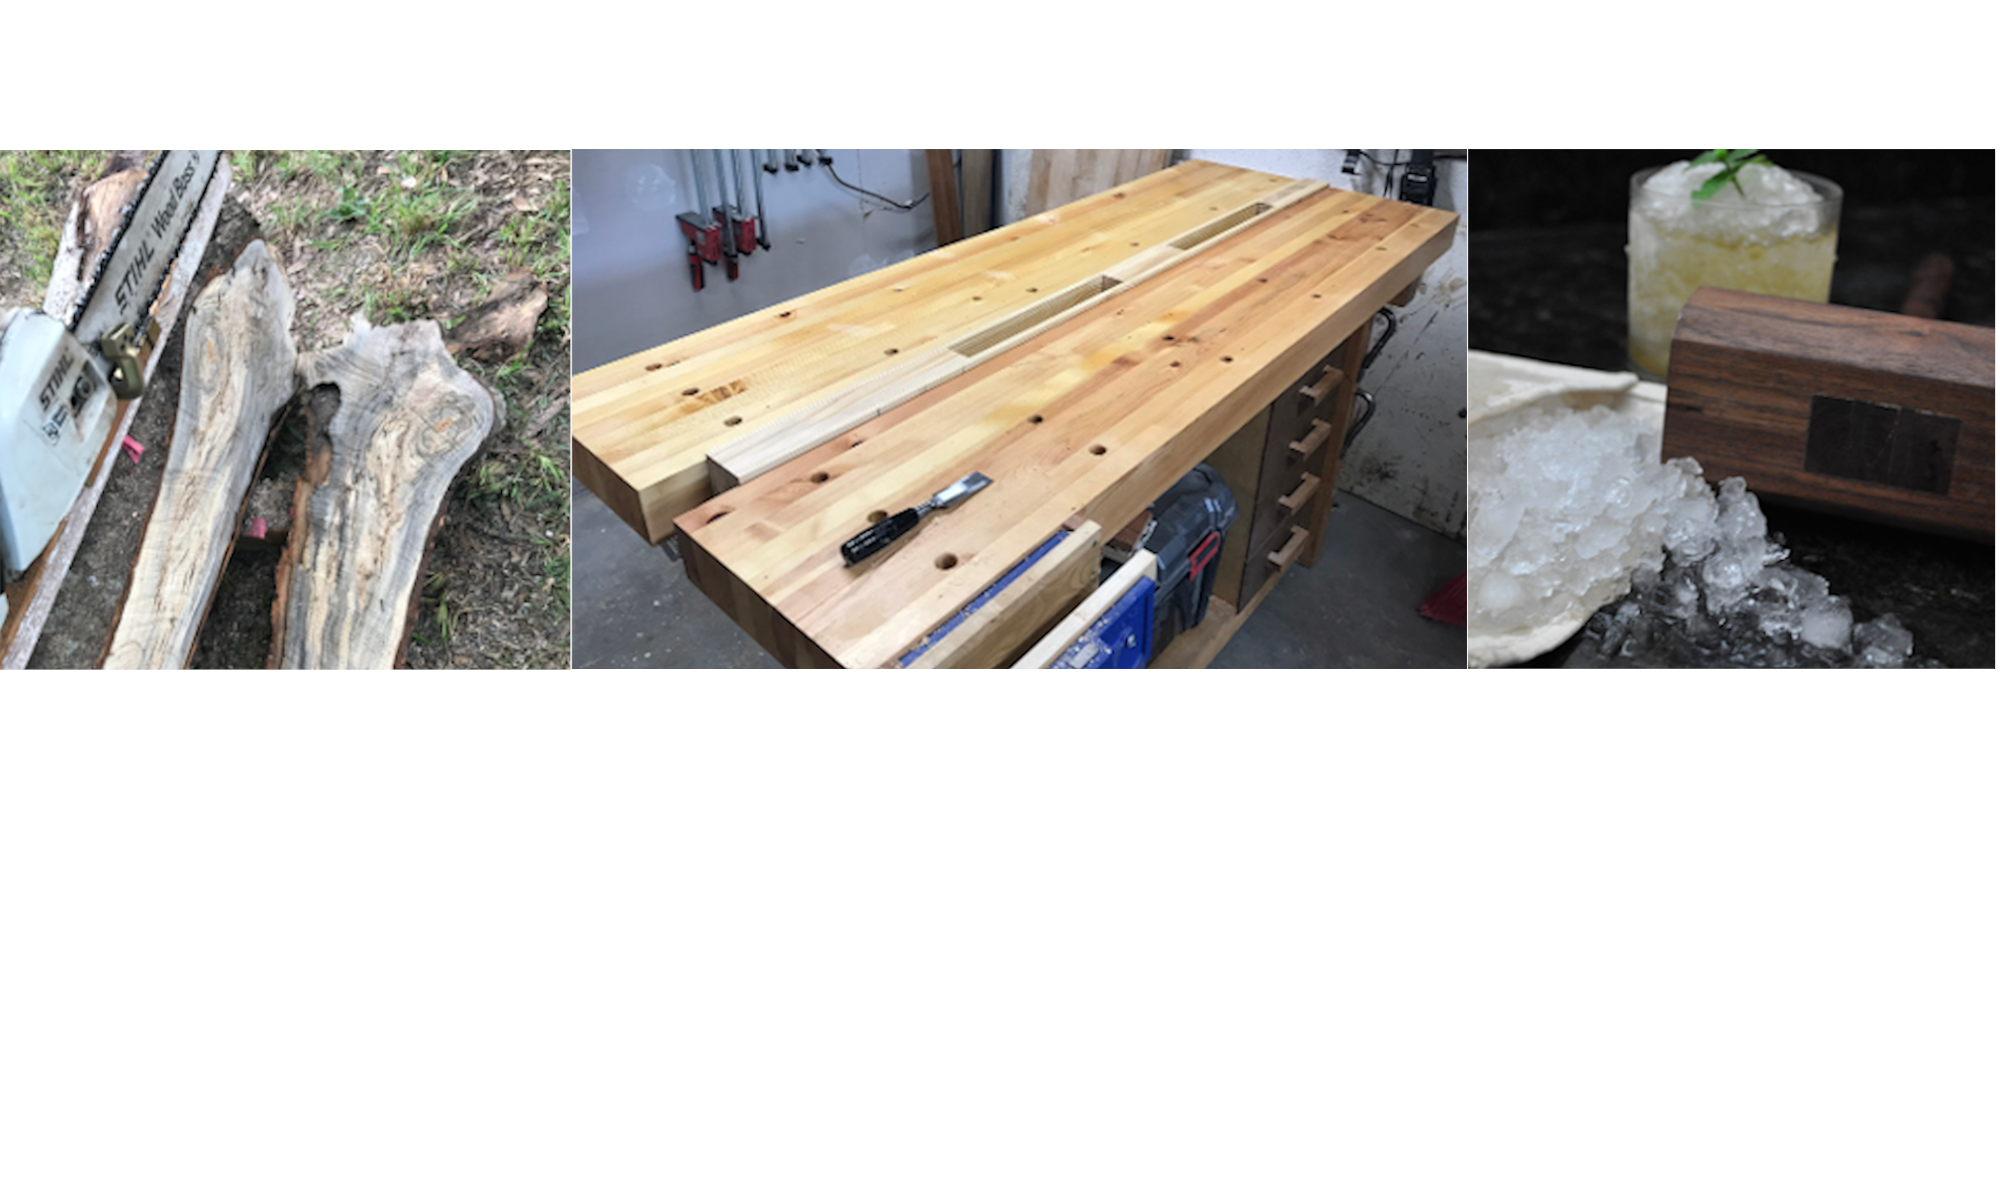
Making more Tools
We also made more tools this week, I can’t overemphasize how much I enjoy making something that I know will have a use for years to come. We made a mallet with a hard maple head and a handle made of ash. However, I learned an important lesson about working in a shared shop. When cutting out my ash handle I didn’t check the band saw and discovered after I was done with my cuts that the handle was less than square. One of the locking handles for the table was loose, lesson learned! Since there were no more ash blanks my handle ended up being made out of an unknown wood, I think is yellow heart or Pan Amarello (if you can tell the wood species from the pictures let me know!). The process for making the handle blank is similar to that of making many non square objects (spoons, knife handles etc). You sketch a profile on 2 sides, cut one, tape on the offcuts and cut the other. This allows you to use a bandsaw to generate the blank. The rest of the shaping is done with a spoke shave, card scraper and sandpaper. The handle is attached to the head with a square mortise and tenon joint that includes wedges to ensure everything stays together. I really like this mallet but I think it’s a little big for chisel work so I am thinking of making something smaller with my “crooked” ash handle (if time permits). The second tool we made was a spar gauge, which we will use to make a small spar. I will go into more detail on that tool and spars in the future.


Guest Lecturer
This week we for fortunate to have guest lecturer, Jim Tolpin, join us. I follow Mr. Tolpin on the instagrams so I was looking forward to his discussion. He has been an author for 15 years and has been working in finish carpentry and custom cabinetry for over 50 years. I also heard he has built some boats. He told us he has been spending recent years investigating the origins of what he was taught early in his career with respect to layout and building. Attempting to answer the question why we as builders, makers, carpenters, woodworkers etc… are taught to do things in these certain ways. Most of what he discussed can be traced back to ancient Greece and Egypt. There is no way I can cover his lecture here much less the larger body of work that is available. I will leave you with one takeaway and a few ways to find his content for yourself. The takeaway for me was that if you start with a perfect circle you can get many of the necessary parameters for building and construction (symmetry, dimension, ratios, bisection, parallelism, “right” angle, square, triangle, planar, the list goes on). This is one small takeaway of a much larger discussion and there is more information if you are interested. His latest book, Euclid’s door, has some really cool artwork. His website is byhandandeye.com and he can be easily found on instagram.
Free Tools
We had a surprise this week, many generous individuals donate old hand tools to the school. The school then in turn gave them to the boat building students in a raffle fashion. There was lots interesting stuff, from wood and metal planes, draw knives, chisels and screw drivers to name a few. Many, if not all, of the tools required some love, but here at the school we are developing the skills to provide that attention. There were enough donations that every students was able to get two tools. I picked out a tiny block plane and really rusty mortising chisel. The students were excited with many of them returning to their benches and starting the restoration process straight away. If you are in the Olympic Peninsula and have old hand tools you should consider donating them to the school, you can rest assured they will go to a good home.
Boat in Progress
I was able to get another in process boat video this week. This one is a lapstrake planked double ender. Enjoy!